
I use an empty clean juice bottle, a big bottle of light corn syrup, several boxes of Red Hots, white jelly beans (the kids are happy to eat the other colors), and sprinkles (mine are leftover from Christmas).
Corn syrup = plasma
Red Hots = red blood cells
White jelly beans = white blood cells
Sprinkles = platelets
First, I add the plasma to the juice bottle. The students watch the movement of the yellowish clearish liquid. I add words like viscosity, movement, liquid. I put the lid on and the students take turns moving the "plasma" around.
Then, I add the red blood cells. The students ooh and ah. We discuss the role of the red blood cells and what they do in our blood - take oxygen to the cells and return carbon dioxide to the lungs.
Next, I add the white blood cells. We note that they are larger and not as plentiful as the red ones and they are our soldiers - they fight infection.
Last, I add the platelets - they help the blog clot and scab. The students realize they get mixed in really quickly.
I make sure the students all have a chance to move the blood around in the juice bottle. They are very entranced with this demonstration.
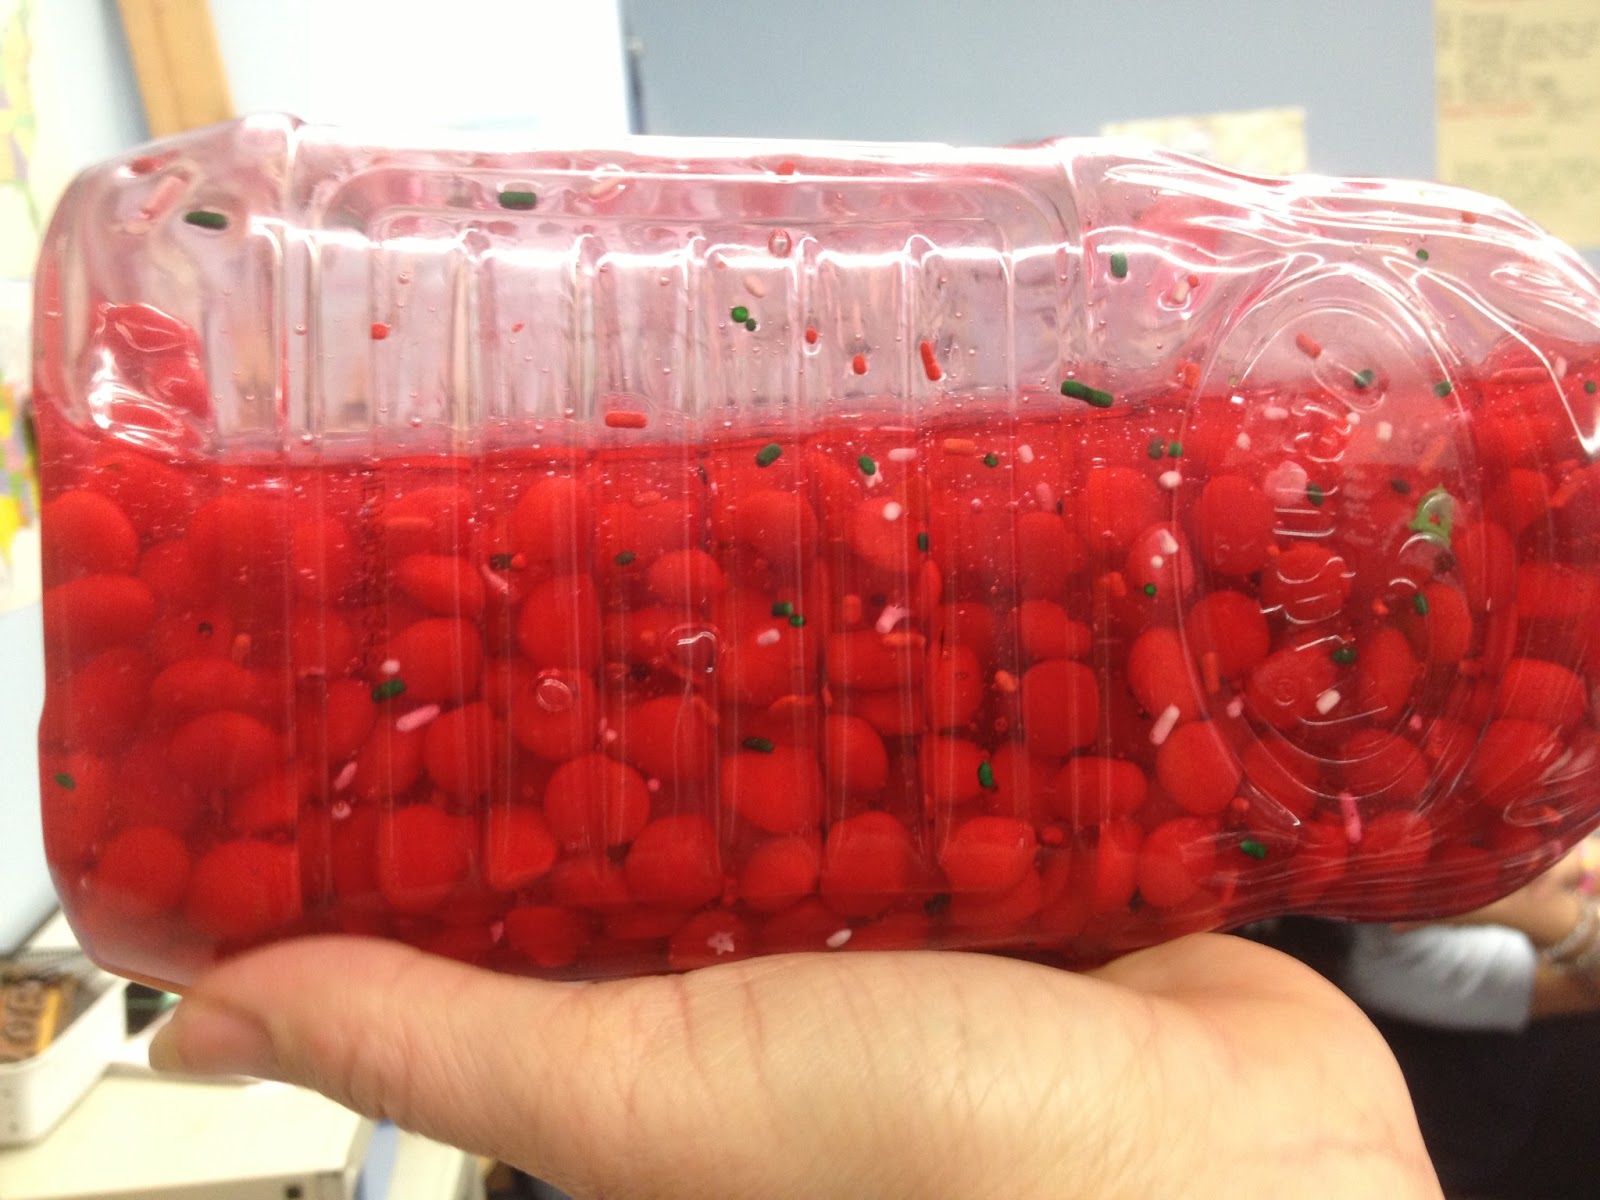

Soon, the Red Hots have "lost their color" and the whole juice bottle is bright red. The students can still see the red blood cells in the bright red mixture. They can still see the jelly beans and sprinkles that have retained their size and shapes.
Please try this great demonstration in your class and leave us a comment about your successes.
No comments:
Post a Comment